
Usage
📙 What you'll learn
Install Salla CLI
Note
Alert
Rosetta Installation
Via GUI
Via Terminal
The first time you try to run an incompatible program, you will automatically be prompted to install Rosetta.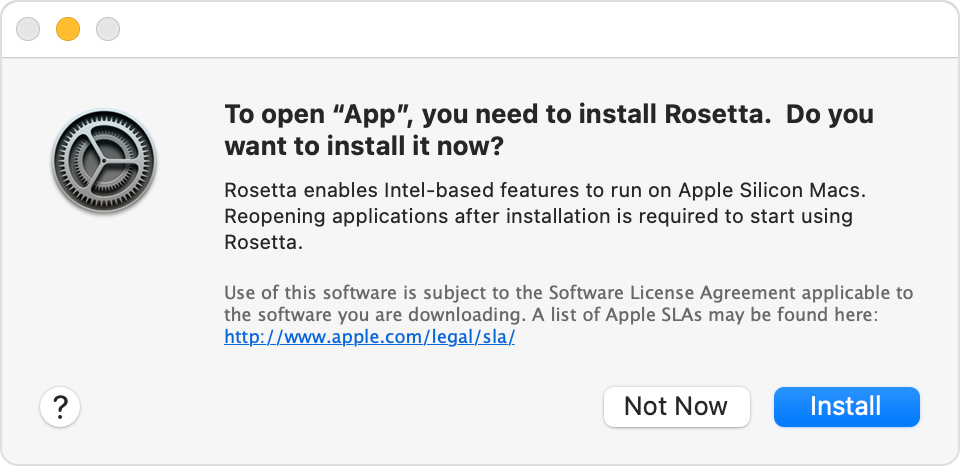
Simply, click
Install and you are good to go!Salla CLI usage
salla binary on their command line. The developer can verify that the CLI is properly installed by simply running the binary command, salla, which should present the developer with a help message listing all available commands.Checking the version can be done using this command:
sallahelp command:help| Command | Description | Properties |
|---|---|---|
salla app | Show list of commands with the binary app | - |
salla app create-webhook | Create a new Salla App Webhook | event.name |
salla app delete | Delete an existing Salla App | - |
salla app list | List all Salla Apps | - |
salla app info | Show detailed app information | - |
salla app link | Link local app with Salla Partners | - |
salla app serve | Serve an existing Salla App | [-p,-l] |
salla theme create | Create the theme | - |
salla theme preview | Preview the theme | - |
salla theme list | List Themes | - |
salla theme delete | Delete an existing Theme | - |
salla theme publish | Publish the theme | - |
salla login | Login to Salla Store | - |
salla version | Show the version of Salla CLI | - |
Modified at 2025-03-06 07:31:57